Last year, I started adding a small educational section on food photography to my recipes.
We began by exploring why we photograph food in the first place, discussed the importance of having a clear idea for the entire process, and talked about the equipment needed for successful food photography. Then we moved on to creating atmosphere and using shadows to add dynamics to our shots. Once we set the whole scene, we also covered how to make the most of it by capturing multiple shots from a single setup. We even touched on how changing seasons can enrich our portfolios, wrapping up with a festive mood of snow, Christmas flavors, and bokeh.
This year, we started with a banana and carob bundt cake, revisiting all the lessons from last year as a little warm-up. Now, it’s time to get creative.
Food doesn’t always belong on a plate
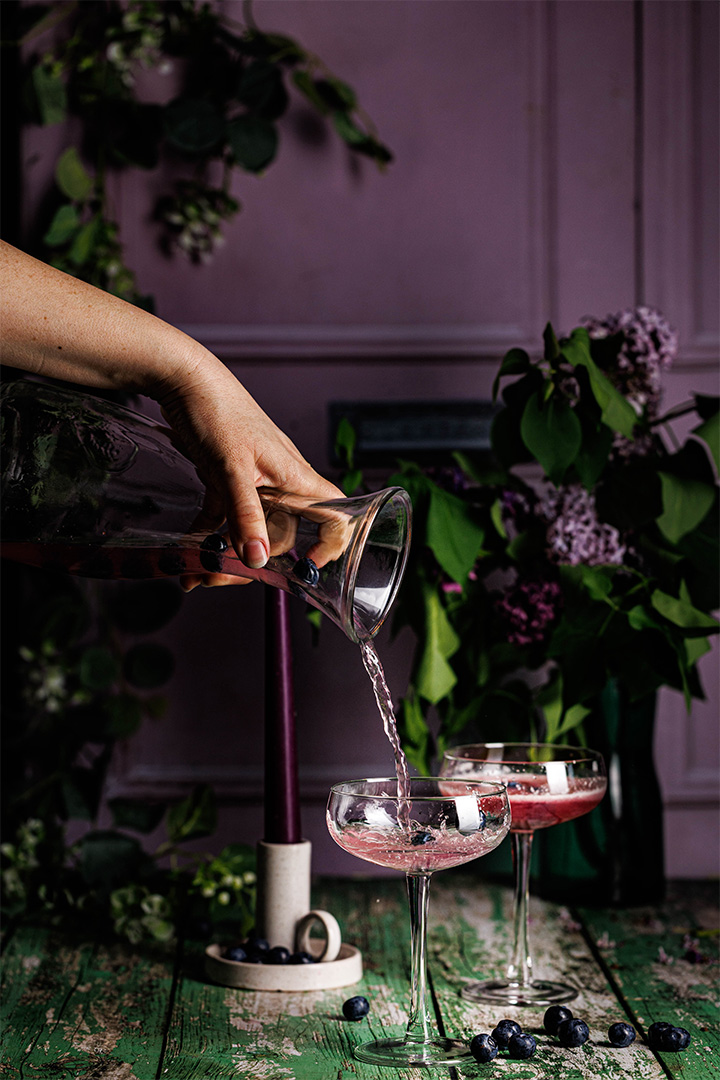
Dishes don’t always have to be presented in the classic way, on a plate, at a table, with cutlery and a napkin. This month, I focused on the creative challenge of combining the dynamics of levitating food with the always interesting contrast of red and green.
The magic of levitation
Levitating food isn’t just visually striking, it opens the door to storytelling through photography. The key to success lies in careful planning, experimenting with different techniques, and precise lighting to create the best possible illusion. Without this, the result can look like a “collage” of cut-out elements pasted together. Here are a few tips for successful levitation:
- Thin transparent threads and invisible supports: Use clear nylon threads to lift and position food as needed. These can be removed in post-production using software tools.
- Hidden supports and props: Small sticks, forks, or acrylic supports can hold food in place. The trick is to position them carefully so they remain hidden within the composition.
- Composite photography: Capture multiple shots of the same scene with different ball positions, then combine them in post-production to create a natural levitation effect.
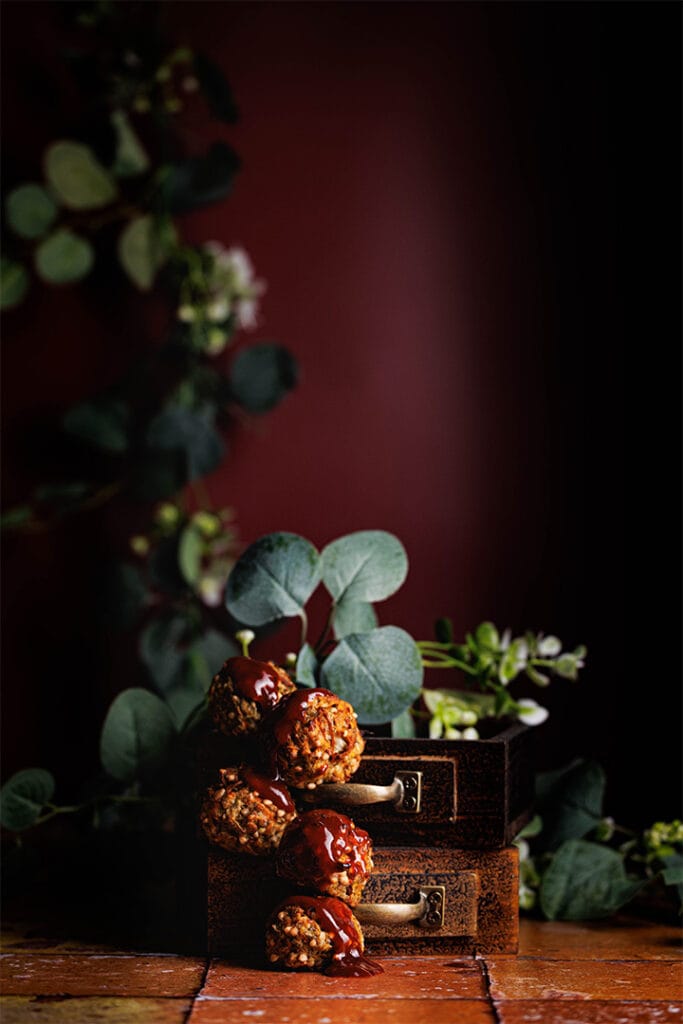
For my levitation photo, I used wooden skewers to hold the veggie balls, then removed the sticks in post-production to isolate each ball and blend them into a single frame. To enhance the floating effect, I used side lighting to add depth and shadow.
The harmony of opposites
Red and green are complementary colors, sitting opposite each other on the color wheel. This combination creates a strong visual impact, evoking freshness, energy, and an irresistible appeal in food photography. We often find this pairing in nature: strawberries, tomatoes, apples, red peppers, and watermelons all reflect this vibrant contrast.
In one of my scenes, I carefully stacked the veggie balls, almost like architectural elements, inspired by the structure of small drawers, hinting at layers of flavor and texture. In this composition, the arrangement tells a story, it’s not just about showcasing the food, but also about suggesting movement and height, adding a new dimension to the image.
The soft lighting highlights the red tones, creating a balanced yet dynamic look. The backdrop is a deep red, matching the sauce on the balls, while a hint of green from a trailing vine completes the color story, adding that essential dynamic contrast.
Creativity in Food Photography
Creativity in food photography isn’t just about technical skills. It’s about being open to experimentation. But I’d say creativity and technical knowledge go hand in hand, making it easier to bring your vision to life.
Playing with levitation and color can transform everyday ingredients into artistic compositions that not only make your mouth water but also tell a story. So, next time you photograph food, think outside the box. How can you capture movement, evoke emotion, and create a memorable visual story?
And now, the recipe!